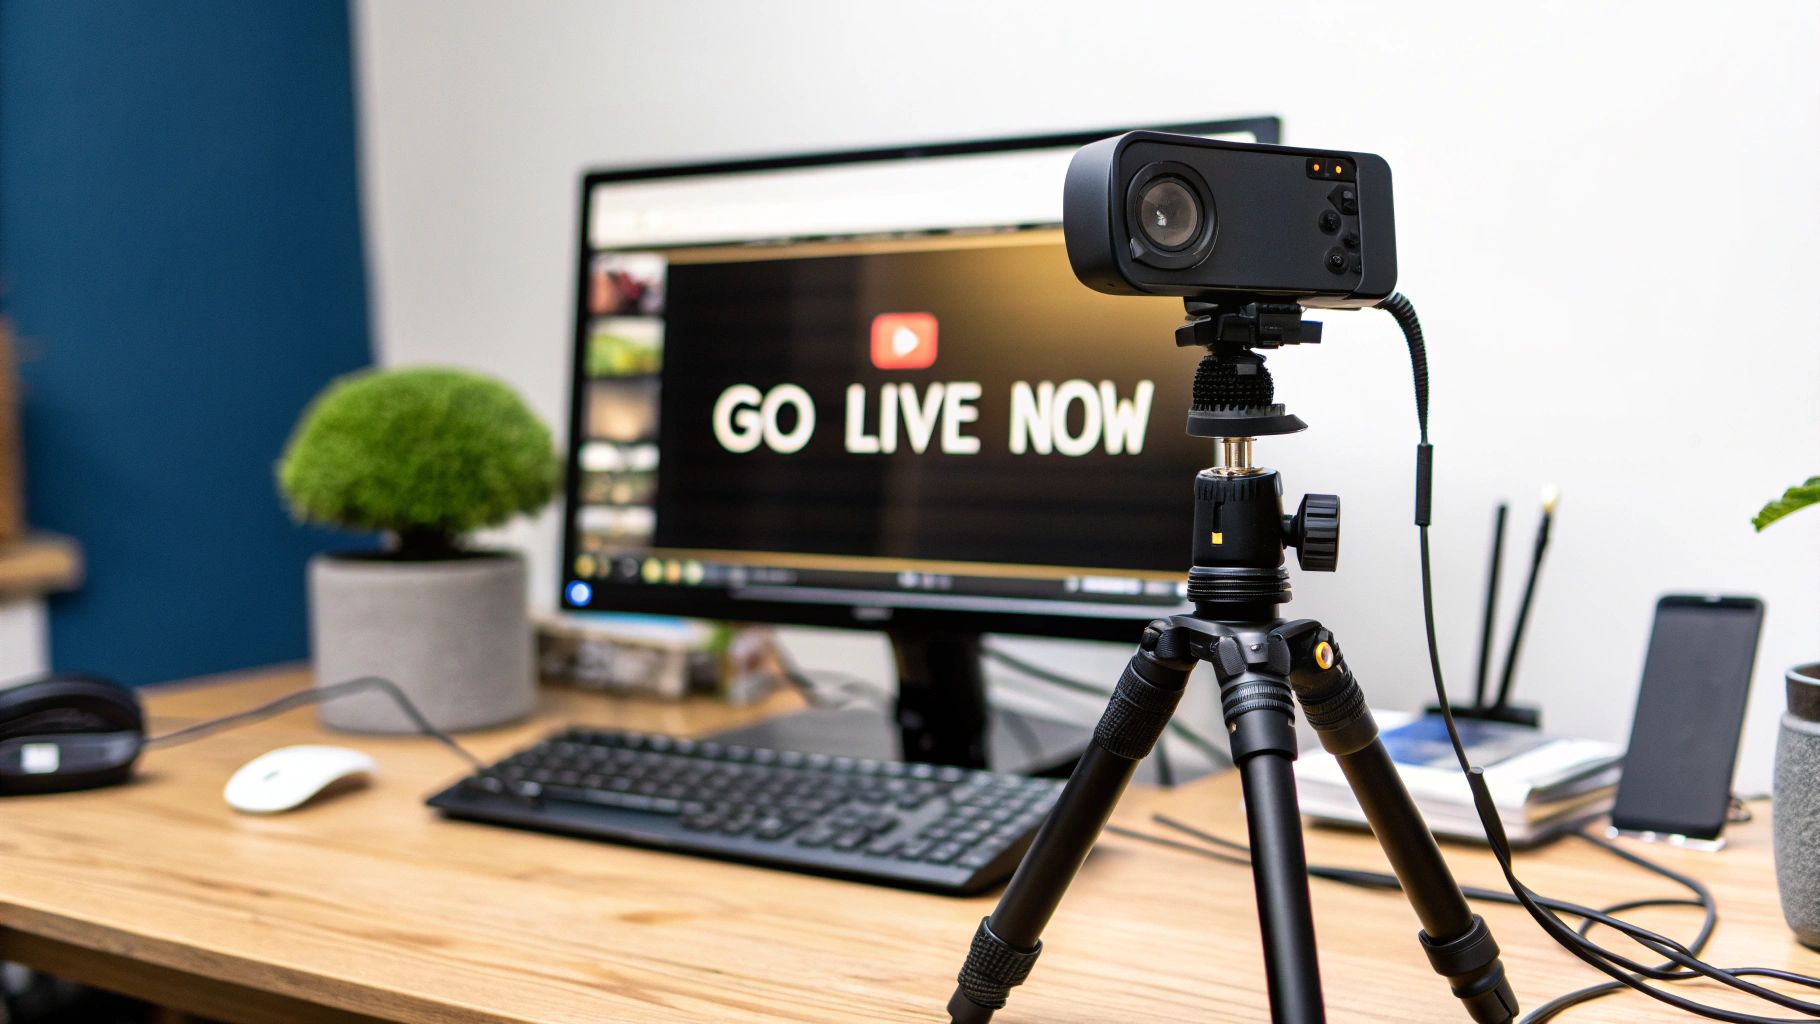
Before you can go live and share your passion with the world, there are a few foundational steps you absolutely need to nail down. Think of this as your pre-flight checklist—a series of small but critical actions that will save you from technical headaches and set you up for a professional-looking broadcast.
Getting these basics right from the start makes all the difference, whether you're a seasoned creator, an educator teaching a class, or a researcher presenting your latest findings.
Your Essential Pre-Stream Foundation
The very first hurdle, and one that trips up a surprising number of creators, is verifying your YouTube account. This is a simple, one-time security measure that unlocks your ability to live stream.
But here’s the catch: it's not instant. After you verify your account, YouTube enforces a 24-hour waiting period before your live streaming capabilities are activated. My advice? Don't wait until the morning of your big stream to do this. Get it out of the way now.
Choosing Your Streaming Method
Once your account is ready, you have to decide how you'll go live. There isn't a single "best" way; the right choice really depends on what you're creating, your comfort level with tech, and what you're trying to achieve with your stream.
There are three main paths you can take:
- Webcam (Desktop): This is the simplest way to get started, period. All you need is a computer and a webcam. It's perfect for direct-to-camera chats, Q&A sessions, or simple tutorials where you don't need fancy graphics or screen sharing.
- Mobile: Streaming directly from your phone is fantastic for on-the-go content. Think broadcasting from an event, giving a behind-the-scenes tour, or anything that requires mobility. The one key requirement here is that your channel must have at least 50 subscribers to unlock mobile streaming.
- Encoder Software: For the most professional and customizable stream, you’ll want to use an encoder. Software like OBS Studio or Streamlabs acts as a virtual production studio on your computer. It lets you mix multiple sources—like cameras, screen shares, pre-recorded videos, and graphic overlays—into one polished broadcast. This is the route most serious streamers, educators, and researchers take.
To help you decide, here’s a quick breakdown of the three methods.
Choosing Your YouTube Live Stream Method
| Method | Best For | Key Advantage | Required Gear |
|---|---|---|---|
| Webcam | Beginners, Q&As, simple chats | Easiest and fastest setup | Computer with a webcam |
| Mobile | On-the-go streaming, events | Ultimate portability | Smartphone (50+ subs required) |
| Encoder | Professional broadcasts, gaming, tutorials | Maximum customization & control | Computer, encoder software, mic |
Each method has its place. Don't feel like you need a complex encoder setup from day one—starting with a simple webcam stream is a great way to get your feet wet.
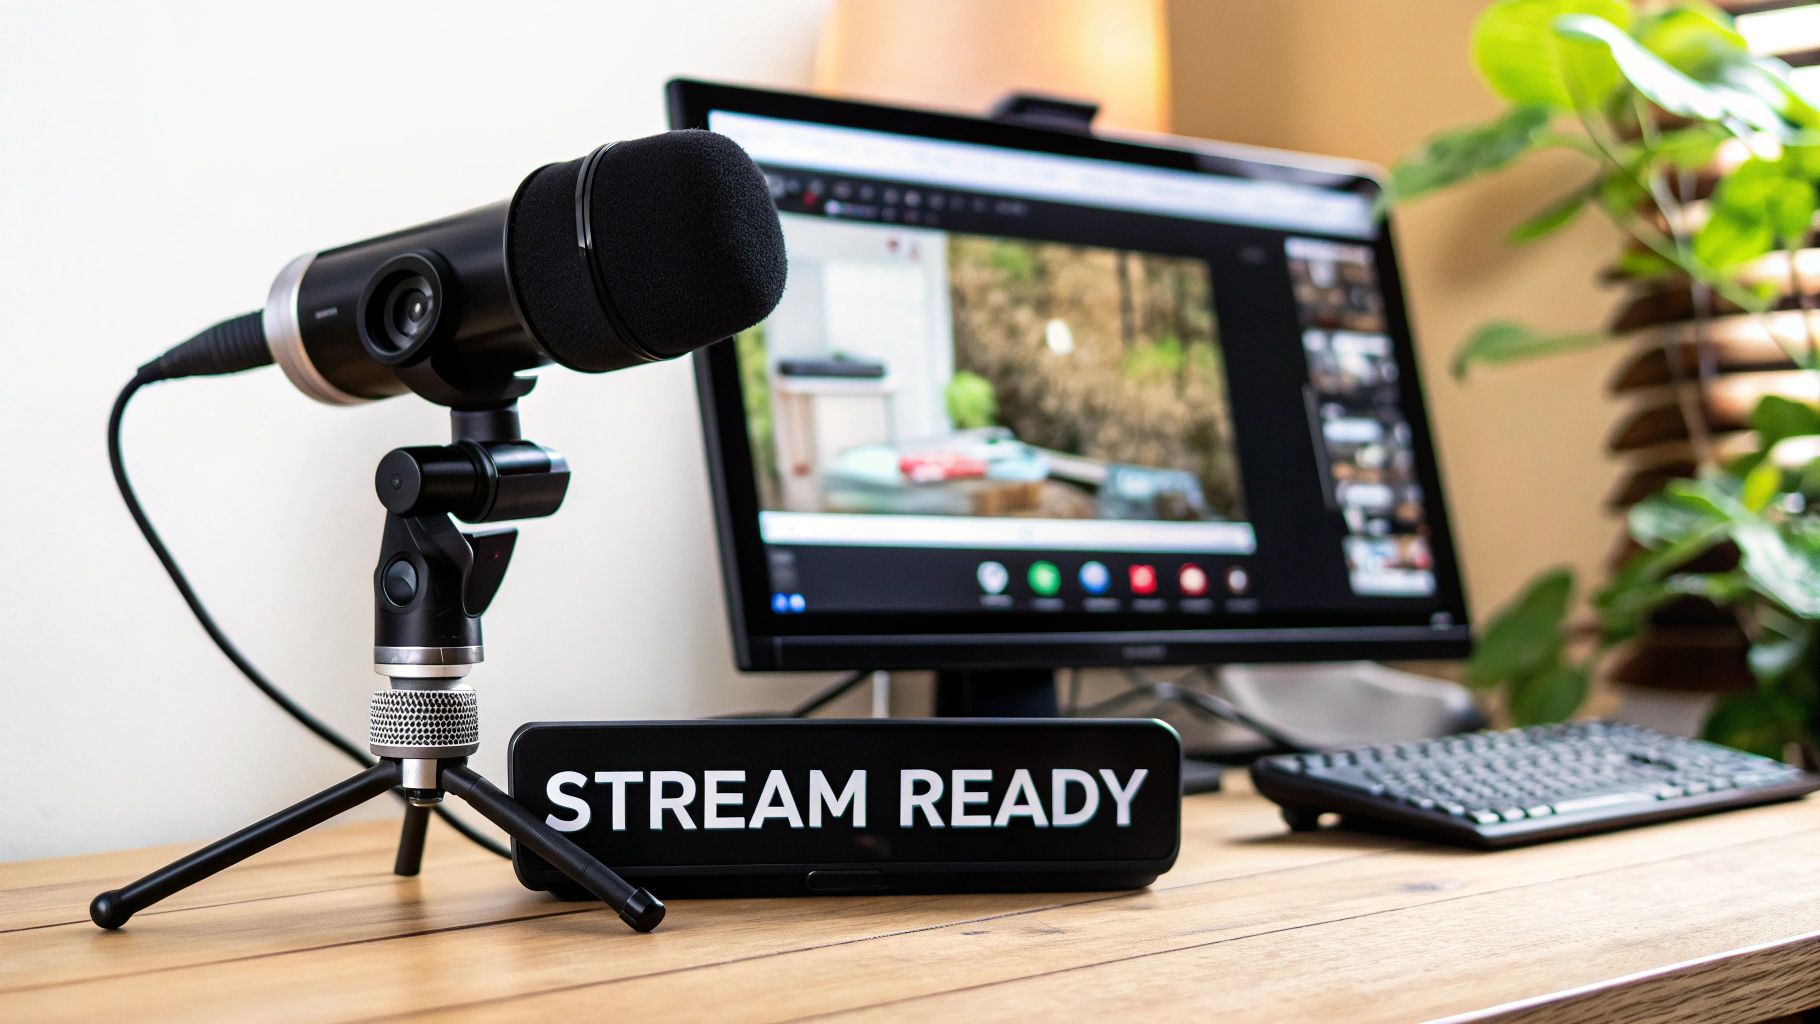
Assembling Your Core Streaming Gear
While you can technically start with just a webcam, investing in a couple of key pieces of gear will dramatically elevate the quality of your stream. Trust me, your audience will notice and appreciate the effort.
First and foremost, focus on your audio. Viewers are far more likely to forgive mediocre video than they are to sit through poor, tinny, or distorted sound. An external USB microphone is an affordable upgrade that provides a massive leap in quality over your computer's built-in mic. It's the single best investment you can make.
Next up is lighting. You don't need a Hollywood-level setup. A simple ring light or a pair of small LED panels can eliminate harsh shadows and ensure your video feed is clear and professional. Good lighting makes even a basic webcam look significantly better.
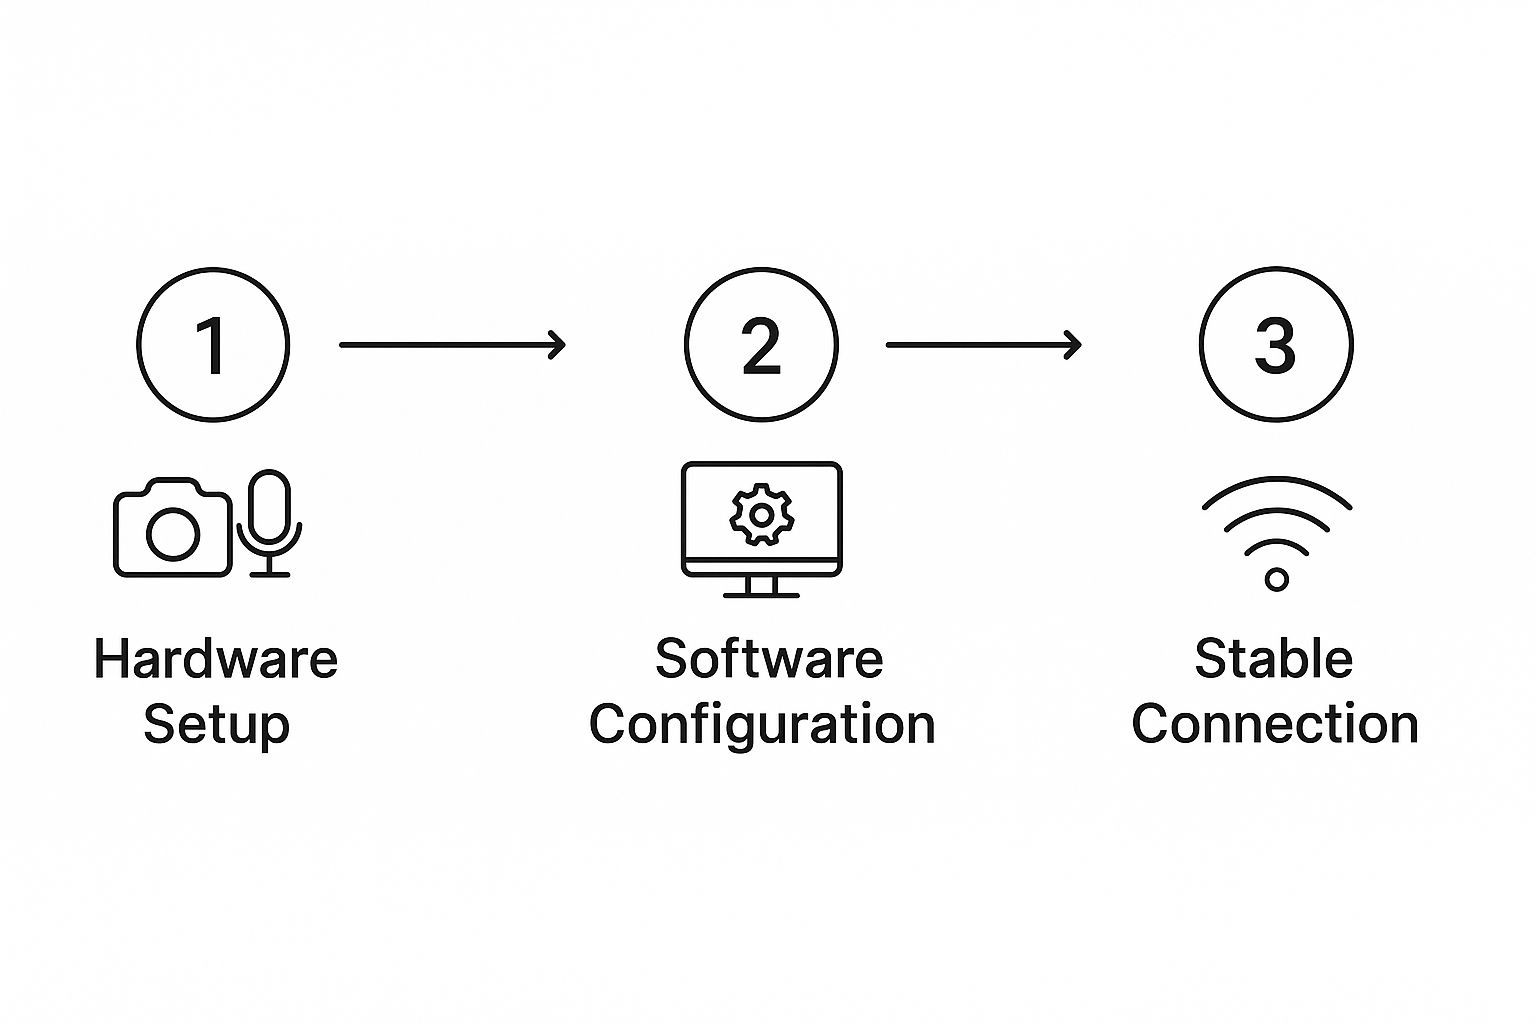
This simple flow—getting your hardware, setting up your software, and ensuring a stable connection—forms the backbone of every single stream you'll ever do. It highlights that a successful broadcast is built on three pillars: hardware, software, and connectivity. Get those right, and you're golden.
The live format is more popular than ever. As of mid-2025, there are approximately 29,844 live channels active on YouTube at any given moment, a number that continues to climb. The potential reach is staggering, with peak viewership recently hitting over 5.47 million simultaneous viewers in a 30-day period. You can explore more live viewership stats on Streams Charts.
By taking the time to verify your account, choose the right method, and gather some basic gear, you’re not just preparing to stream; you’re building a reliable foundation. This initial setup also plays a role in how viewers discover you, which is a key part of our guide on achieving better SEO for YouTube.
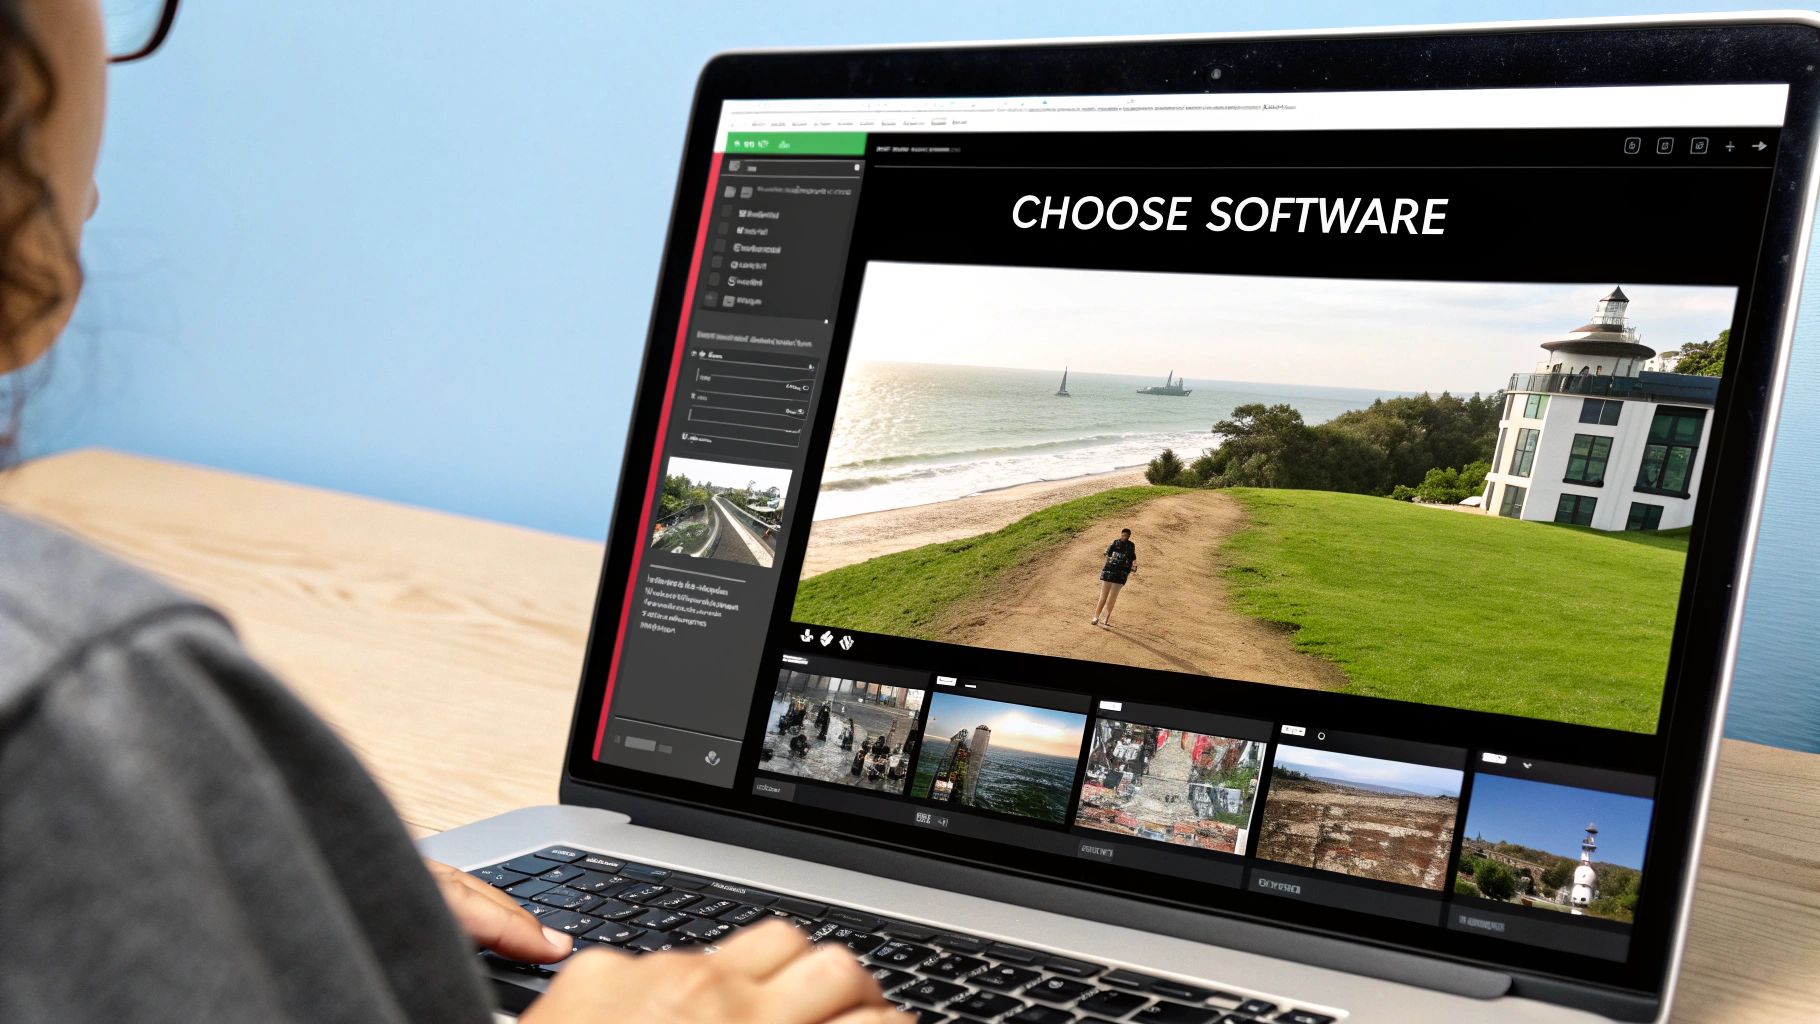
Configuring Your Broadcast Software
This is where the real magic happens. If you want to move beyond a simple webcam stream, you’ll need broadcast software—also known as an encoder—to turn your computer into a virtual production studio. Tools like OBS Studio (a seriously powerful and free option) or Streamlabs (known for being incredibly user-friendly) are what let you create a truly dynamic and professional broadcast.
Think of your encoder as the command center for your entire stream. It’s the tool that grabs all your different video and audio inputs, mixes them together into one polished feed, and sends that feed straight to YouTube. It’s how you’ll add on-screen graphics, share your screen for a tutorial, or switch between different camera angles with a single click.
Connecting Your Encoder to YouTube
First things first, you need to create the digital handshake between your software and your YouTube channel. This is done with a unique stream key—a long, jumbled string of characters that basically acts as a password for your broadcast. It tells your encoder exactly where to send your video feed.
Here’s how to track down your stream key:
- Head over to your YouTube Studio and click the "Create" button in the top right corner.
- Choose "Go live" from the dropdown menu.
- In the "Stream" tab, you'll see your stream key. Copy it.
Crucial Tip: Never, ever share your stream key. If someone else gets their hands on it, they can stream directly to your channel without your permission. Treat it with the same level of security as you would any password.
With your key copied, pop open your encoding software (like OBS). Dive into the settings menu and look for a section called "Stream." From there, select "YouTube – RTMPS" as your service and just paste your stream key into the field. That’s it—your software and YouTube are now officially connected and ready for action.
Dialing in Your Stream Settings
Now that your encoder is linked up, the next job is to fine-tune your stream's quality. The three most important settings here are your resolution, frame rate, and bitrate. Nailing these is absolutely vital for giving your viewers a smooth, high-quality, and lag-free experience.
- Resolution: This is simply the size of your video, like 1080p (1920×1080) or 720p (1280×720). For most streams these days, 1080p is the gold standard, offering a fantastic balance between crisp clarity and performance.
- Frame Rate (FPS): This dictates how many individual frames are shown per second. For content like tutorials or Q&A sessions, 30 FPS is perfectly fine. But if you’re streaming fast-paced gaming, bumping it up to 60 FPS will give you that buttery-smooth look.
- Bitrate: This is the amount of data you're sending to YouTube every second, measured in kilobits per second (Kbps). A higher bitrate means better video quality, but it also demands a faster and more stable internet connection.
Your upload speed is the foundation of a good stream. For a solid 1080p stream at 30 FPS, YouTube recommends a bitrate somewhere between 3,000 and 6,000 Kbps. A good rule of thumb is to keep your bitrate at around 70-80% of your total upload speed. This leaves a nice buffer to prevent dreaded dropped frames if your connection hiccups.
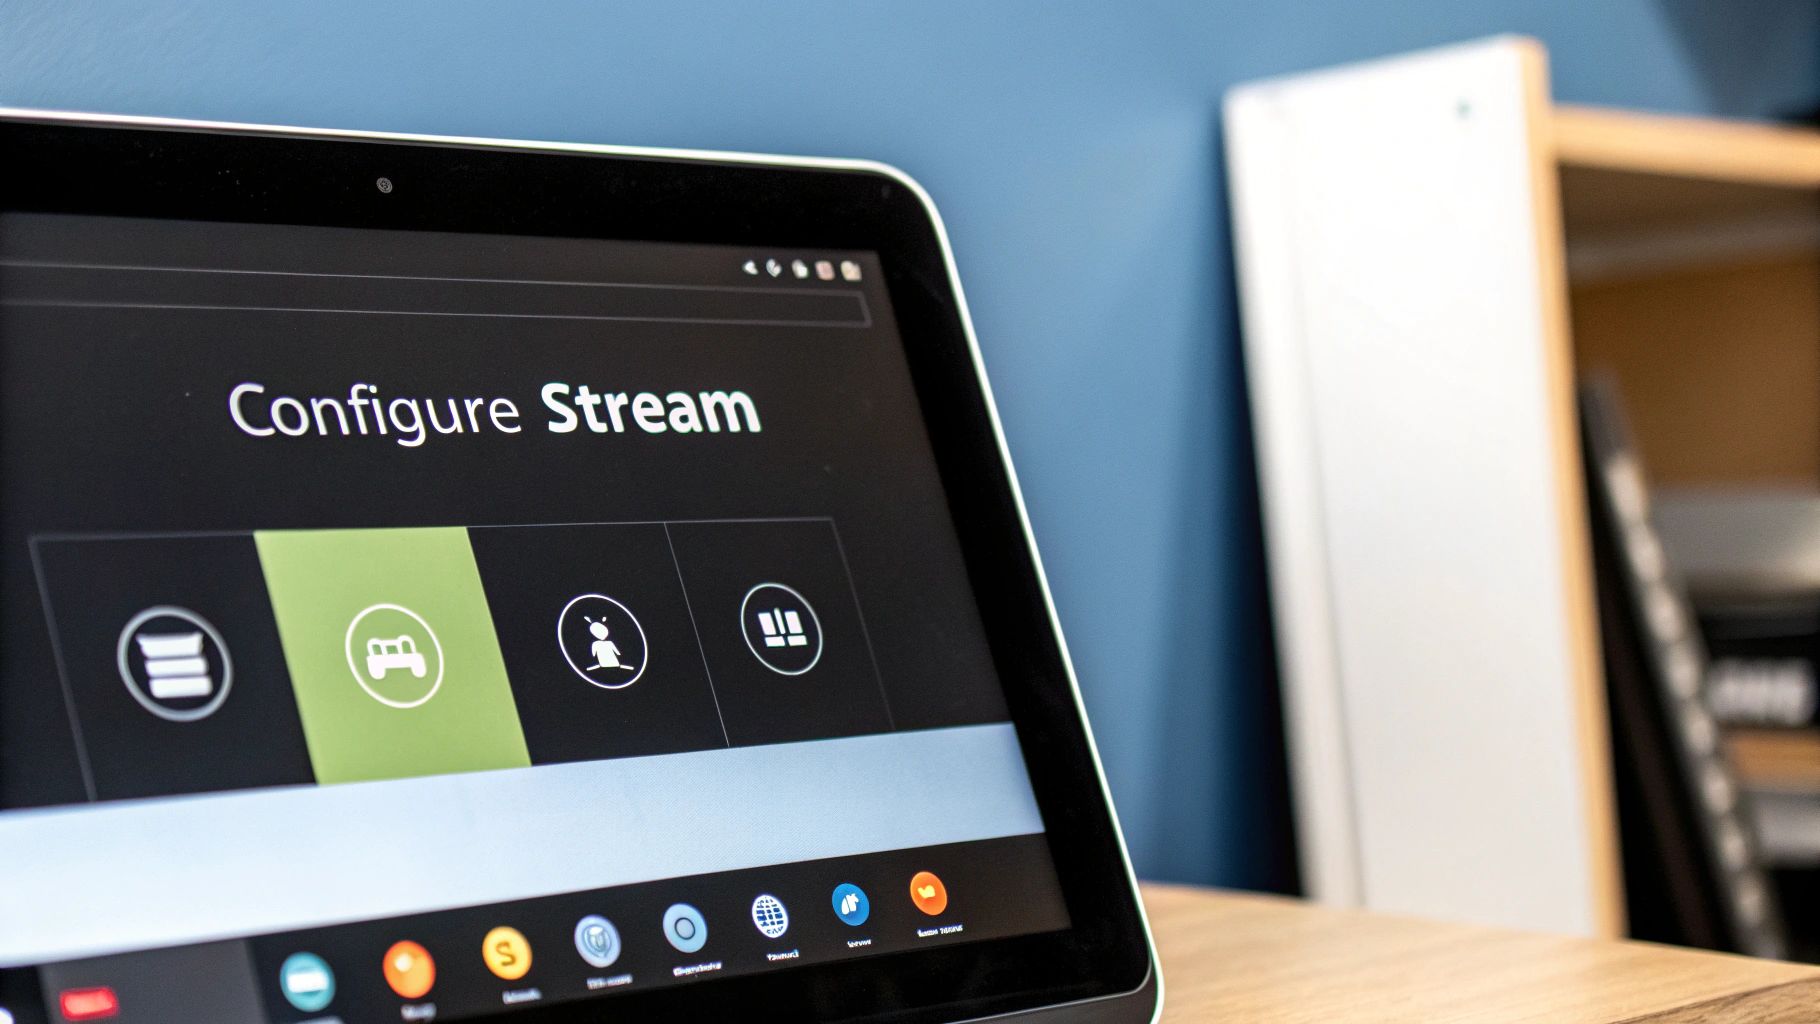
Building Your Broadcast with Scenes and Sources
The real power of an encoder is unlocked when you start working with scenes and sources. This is the system that lets you build a truly dynamic live show instead of just a static talking head.
Think of it like this:
- A Source is any single element you want to show on screen. It could be your webcam, a microphone, a game capture, a browser window, an image, or even a pre-recorded video clip.
- A Scene is just a collection of those sources arranged in a specific layout.
For example, a researcher presenting a paper might want a few different scenes ready to go:
- Welcome Scene: A full-screen shot of their webcam along with their microphone source.
- Presentation Scene: A screen capture of their presentation slides, with their webcam feed tucked into a small picture-in-picture box in the corner.
- Ending Scene: A "Thanks for Watching" graphic that includes links to their social media profiles.
By setting up these scenes before you go live, you can seamlessly switch between different layouts during your stream with just a single click. This ability to direct your own show in real-time is what separates a basic broadcast from a polished, professional production. It’s a core skill for anyone serious about how to live stream on YouTube effectively.
Designing Your Live Event in YouTube Studio
Alright, your encoder is all set up. Now it's time for the fun part: packaging your broadcast so people actually find it and want to watch. This all happens inside YouTube Studio, and honestly, this is where you can make or break your stream before you even go live.
Think of it this way: your title, description, and thumbnail are the front cover of your event. They need to work together to grab attention, set the right expectations, and convince someone scrolling through their feed that your stream is worth their time.
Crafting Your Title and Description
Let’s start with your title. It's the very first thing anyone sees and your best shot at getting clicks. It has to be clear, compelling, and built for search. Don't just call it "Chemistry Stream." A far better title would be "Live Q&A Session: Organic Chemistry Midterm Review." Think about what your audience is actually typing into the YouTube search bar and meet them there.
Your description is where you fill in the details and add value. Use this space to lay out the stream's agenda, drop links to helpful resources (like a study guide or a research paper), and include relevant hashtags. This text is pure gold for YouTube's search algorithm, so a thoughtfully written description can give your discoverability a serious boost.
It's a crowded platform, after all. YouTube has exploded from around 800 million users back in 2012 to a projected 2.7 billion by 2025. Making your content stand out is non-negotiable. You can read more about this massive growth over at Global Media Insight.
The Power of a Purpose-Built Thumbnail
While the words are vital, your thumbnail is your most powerful marketing tool. It’s a visual billboard. In a sea of other videos, a great thumbnail is often the single deciding factor for whether someone clicks on your stream or keeps on scrolling.
Letting YouTube auto-generate a still from your video feed just won't cut it anymore. Your thumbnail needs to be designed with purpose.
Key Takeaway: A professional thumbnail does more than just look pretty. It instantly communicates the value of your stream. It tells viewers you’ve put real effort into your broadcast, which signals quality and builds trust before they've even heard your voice.
This is where having the right tools makes a huge difference. For creators who need to work fast, the YouTube Thumbnail Maker is a fantastic solution. It gives you professional templates that you can customize in minutes. You can drag and drop elements, tweak the text, and have a high-quality graphic ready to go without needing a design degree.
Advanced Thumbnail Design and Research
If you want total creative control, something more advanced like the YouTube Thumbnail Studio is the way to go. It offers features like layers, custom fonts, and special effects, letting you build a truly unique and branded look for your channel. This is perfect for researchers wanting to include specific diagrams or educators who need to keep a consistent visual style across a whole lecture series.
Before you even open a design tool, though, do a little homework. What are other creators in your niche doing? What styles grab your eye? The YouTube Thumbnail Downloader is an incredible tool for this. It lets you download high-res thumbnails from any video, so you can build a "swipe file" of designs that you know work. Analyze what makes them effective, then borrow those concepts for your own creations.
Scheduling and Finalizing Your Settings
Last but not least, don't just hit "Go Live" on a whim. Always schedule your stream in advance. Setting a date and time—even just 24 hours ahead—builds anticipation. It also gives YouTube's algorithm a heads-up to notify your subscribers and gives you time to promote the event link across your other social channels.
While you're scheduling your stream in YouTube Studio, you can also lock in other key settings:
- Live Chat: Will you have it on? If so, consider enabling slow mode to keep the conversation manageable.
- Privacy: Set your stream to Public, Unlisted (so only people with the direct link can see it), or Private.
- Category: Choose the right category, like Education or Science & Technology, to help YouTube show your stream to the right audience.
By taking the time to design every element of your live event, you're turning a simple broadcast into a professional, well-packaged production that’s primed for discovery and engagement.
Hosting an Engaging Live Broadcast
Alright, the technical setup is done and that "Go Live" button is staring back at you. This is where the real fun begins. A truly great stream isn't just a one-way broadcast; it's a two-way conversation that turns passive viewers into a real community.
Going live is all about connection. Your energy, your interaction, and the flow of your broadcast are what will convince people to stick around, hit subscribe, and show up for your next stream. Let's break down how to host a live event that feels valuable from the first minute to the last.
Structuring Your Stream for Success
A well-structured broadcast respects your audience's time and keeps them hooked. Just like a good story, your stream needs a clear beginning, middle, and end. If you go in without a plan, it's way too easy to start rambling or lose momentum.
Think about your stream in three distinct parts:
- The Opening (First 5-10 minutes): This is your warm-up. Welcome people as they trickle in, give a quick intro to the day's topic, and encourage everyone to say hello in the chat. This is also the perfect time to do a quick "can you guys hear me okay?" check to make sure your tech is cooperating.
- The Middle (The Core Content): This is the main event. Whether you're teaching a skill, playing a game, or hosting a Q&A, this is where you deliver on the promise of your title and thumbnail. Stay on topic, but don't be afraid to let the conversation guide you a bit.
- The Closing (Final 5-10 minutes): Don't just abruptly end the stream. Wind things down gracefully. Do a quick recap of the key points, thank your audience for their time, and give them a clear call to action. You could ask them to subscribe, check out another video, or announce your next scheduled stream.
A planned structure doesn't make your stream feel robotic; it gives you a reliable framework. This actually frees you up to focus on what matters most—genuinely connecting with the people who showed up for you.
Mastering the Art of Live Interaction
The live chat is the heartbeat of your broadcast. Honestly, ignoring it is one of the biggest mistakes a new streamer can make. Your goal should be to make every single person in that chat feel seen and heard.
It's as simple as acknowledging people by name when they join or ask a question. That small act builds a powerful sense of belonging. When someone asks a great question, repeat it out loud for everyone before you answer. This makes the entire audience feel like they're part of one big conversation.
For anyone in education or research, this is an incredible tool. You get real-time feedback and can clarify complex topics on the spot. If you notice a bunch of people asking about the same concept, you know exactly where you need to focus your explanation.
Managing Your Chat and Encouraging Support
As your channel grows, your chat will get busy—and sometimes, a little chaotic. This is where moderators come in. Appointing a few trusted viewers as mods is a game-changer. They can help answer common questions, delete spam, and keep the vibe positive, which lets you focus on being a great host.
Beyond keeping things orderly, YouTube also gives you some powerful ways to let your biggest fans support you financially. Features like Super Chats, Super Stickers, and Channel Memberships allow viewers to contribute directly to your channel right in the middle of a stream.
These features aren't just about revenue; they're another form of engagement. When a viewer sends a Super Chat, their message gets highlighted and pinned. Make it a point to give them a special shout-out. This not only shows your appreciation but also shows everyone else how they can participate. For a deeper dive, check out our complete guide on the different paths to monetization for YouTube.
By combining a clear structure with genuine interaction and smart chat management, you create an experience that feels more like a community hangout than a lecture. That's how you build a loyal audience that will show up every single time you go live.
What To Do After Your Live Stream Ends
Your work isn't done the moment you hit "End Stream." Honestly, some of the most important work is just getting started. Your live broadcast is more than just a one-off event; it's a huge piece of content that can keep delivering value for weeks, if not months.
First up, a simple but critical task: polish the replay. YouTube automatically archives your live stream as a video on demand (VOD), which is great. But nobody wants to watch the five minutes of you checking your mic and waiting for people to show up. Hop into the YouTube editor and trim that dead space from the beginning and end. This small cleanup makes the replay far more inviting for anyone who missed the live show.
Squeeze Every Drop of Value Out of Your Stream
The real magic is in repurposing. A two-hour live Q&A session is a goldmine of smaller content pieces just waiting to be discovered. The old way of finding those gems was a nightmare—manually re-watching, scrubbing through the timeline, and trying to transcribe everything by hand.
This is where a tool like the YouTube Transcript Extractor completely changes the game. Instead of spending hours listening back, you can get a complete, time-stamped script of your entire stream in just a few minutes.
Once you have that transcript, a world of possibilities opens up:
- Spin it into a blog post. Tidy up the text, organize it with a few headings, and you've got a detailed article summarizing the stream. This is a fantastic way to boost your SEO and connect with people who prefer to read.
- Pull out social media gold. Scan the script for those punchy one-liners, killer tips, or funny moments. These are perfect for text-based posts or graphics on Twitter, LinkedIn, or Instagram.
- Upload perfect captions. Let's be real, YouTube's auto-captions are decent, but they're far from perfect. A clean transcript lets you upload flawless captions, making your video more accessible and boosting viewership.
- Spot your next viral short. Reading through the conversation flow makes it incredibly easy to pinpoint those 60-second segments that would make perfect YouTube Shorts or TikToks.
Put on Your Detective Hat and Analyze Your Performance
You can't get better if you don't know what's working. After every stream, you need to dive into your analytics to see what resonated and what fell flat. This is where you let the numbers guide your strategy for the next broadcast.
The YouTube Channel Analytics tool gives you the deep-dive data you need. Don't just glance at the total view count—look at the metrics that actually tell a story about engagement.
Here's what to focus on:
- Peak Concurrent Viewers: This is the highest number of people watching at the same time. Find out when this happened. What were you talking about at that exact moment? That's a topic your audience clearly loves.
- Average Watch Time: This tells you how long people actually stuck around. If you see a low number, it might mean your stream dragged on too long or the energy dipped at a certain point.
- Chat Rate: A high number of messages per minute is a clear sign that you've built an active, engaged community. Look for the moments when the chat was on fire.
By treating each stream as a data-backed learning experience, you create a powerful feedback loop. You stop guessing what your audience wants and start making informed decisions that lead to real, consistent growth.
This analytical approach is more important than ever. The global livestreaming market is enormous, and YouTube Live is still the king. In the first quarter of 2025 alone, the platform racked up nearly 15 billion watch hours, holding onto over 50% of the total market share even with fierce competition. You can get more insights on these trends from the folks at Streams Charts.
Your archived stream is an incredibly valuable asset. If you plan to chop it up into shorter clips, you'll want a high-quality local copy. Our detailed guide on the best YouTube video downloaders can help you find the right tool to archive your work safely. By trimming, repurposing, and analyzing, you make sure every minute you spend live keeps working for you long after you've gone offline.
Common Live Streaming Questions Answered
Even with a perfect game plan, questions always pop up when you're figuring out how to live stream on YouTube. Let's tackle some of the most common ones I hear from creators, educators, and researchers to get you streaming with total confidence.
How Many Subscribers Do I Need to Start?
This is a classic point of confusion, and the answer comes down to how you plan to stream.
If you’re broadcasting from a desktop computer with an encoder like OBS or even just your webcam, there’s no subscriber requirement. You can go live from day one. However, if you want to stream directly from the YouTube mobile app, you'll need to hit 50 subscribers first.
Keep in mind, no matter your subscriber count, every channel has to be verified and free of any live streaming restrictions from the past 90 days. And don't forget the mandatory 24-hour waiting period after you first enable live streaming—your account needs that time to get fully activated.
What Is the Best Bitrate for My Stream?
Think of your bitrate as a balancing act. You're trying to find that sweet spot between crisp video quality and what your internet connection can actually handle. Pushing your bitrate too high on a weak connection will just lead to dropped frames and a choppy, frustrating experience for your viewers.
For a sharp 1080p stream at 60 frames per second (fps), YouTube recommends a bitrate between 4,500 and 9,000 Kbps. If you’re streaming at a more standard 30fps, a range of 3,000 to 6,000 Kbps is your target.
A safe and effective starting point for most people is around 6,000 Kbps for a 1080p30 stream. As a rule of thumb, never set your bitrate higher than 70-80% of your total upload speed. That buffer is your best defense against lag spikes.
Can I Play Copyrighted Music?
The short answer is almost always no. Playing music you don't own the rights to is one of the fastest ways to get a Content ID claim slapped on your stream. Trust me, YouTube's automated system is incredibly good at detecting copyrighted material in real-time.
A claim can lead to your stream's audio getting muted, ad revenue going to the copyright holder, or—worst of all—a copyright strike against your channel. Play it safe and stick to royalty-free music from the YouTube Audio Library or a reputable service. If you're looking for other ways to spice up your content, our guide on creative video ideas for your YouTube channel has some fresh inspiration.
How Can I Make My Live Stream Look More Professional?
You don't need a Hollywood budget to make your stream look polished. Focusing on these three areas will give you the biggest bang for your buck.
- Prioritize Your Audio: Viewers will put up with a slightly grainy camera, but they will click away instantly for bad audio. An external USB or XLR microphone is the single best investment you can make for a professional sound.
- Improve Your Lighting: You don't need a complicated rig. A simple ring light or a basic three-point lighting kit can eliminate shadows and make your video look incredibly crisp. Good lighting can make even a standard webcam look amazing.
- Use On-Screen Graphics: This is what separates a real broadcast from a simple video call. Use your encoder to add overlays, alerts for new subscribers, and custom scenes. A well-designed thumbnail also signals professionalism before anyone even clicks play, setting the stage for a great show.
Nailing these fundamentals will help you create a polished, engaging live stream that truly stands out.
At YouTube Navigator, we build tools to help you succeed at every stage of your creator journey. From designing the perfect thumbnail to analyzing your performance after the stream ends, our suite of free utilities is here to support your growth. Explore our powerful, user-friendly tools today at https://youtubenavigator.com and see the difference they can make.